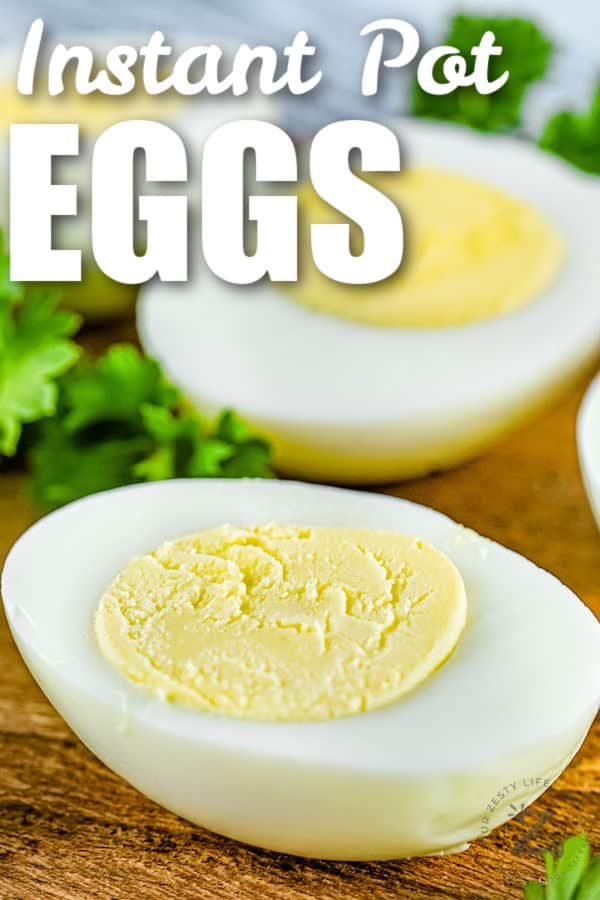
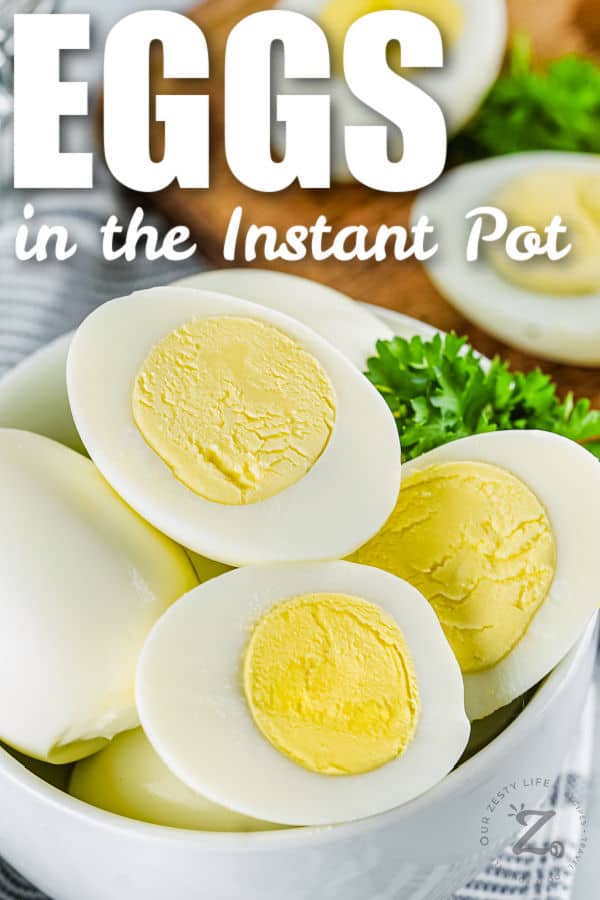
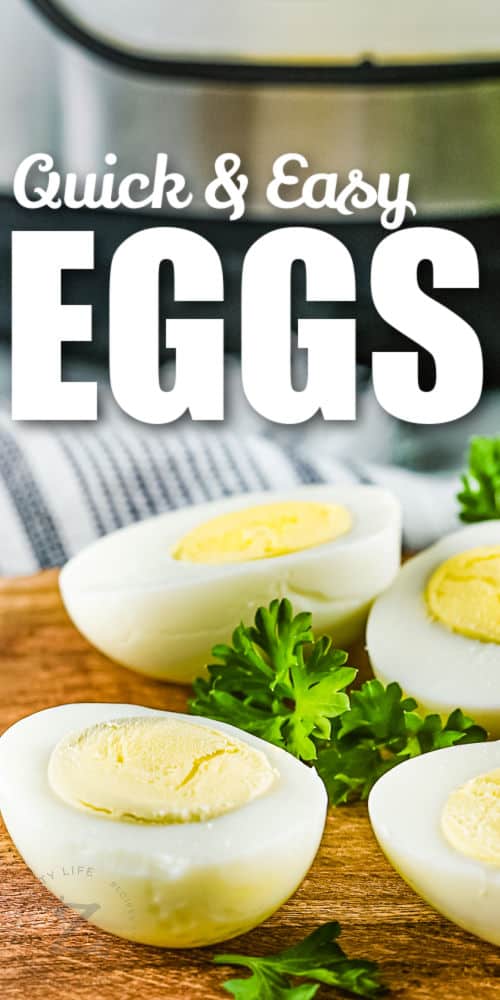
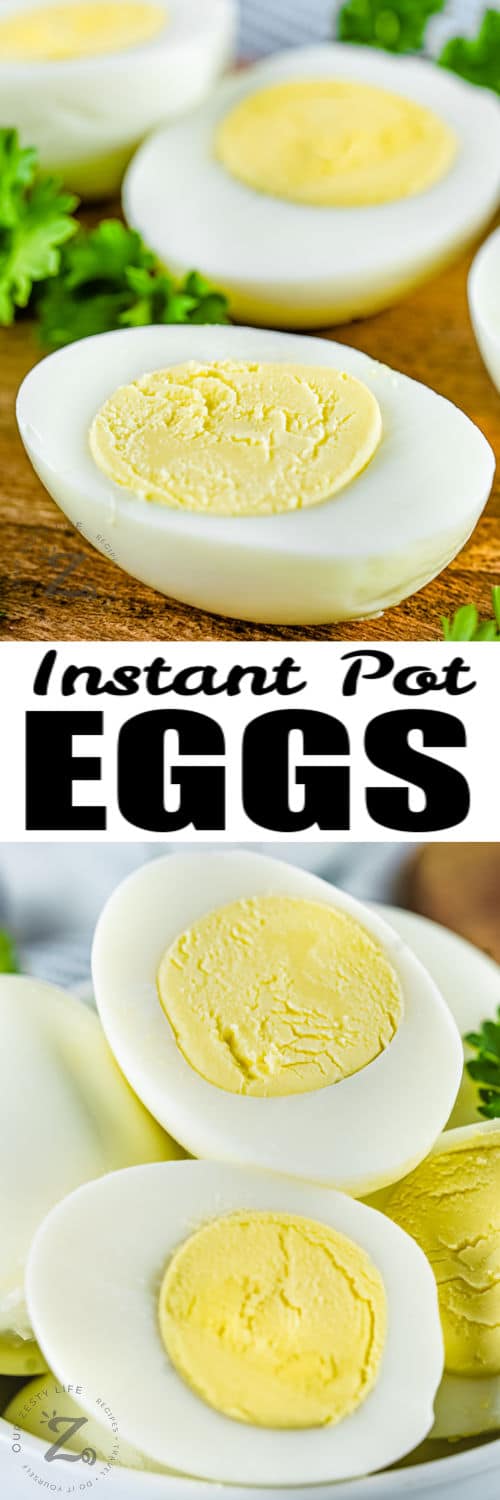
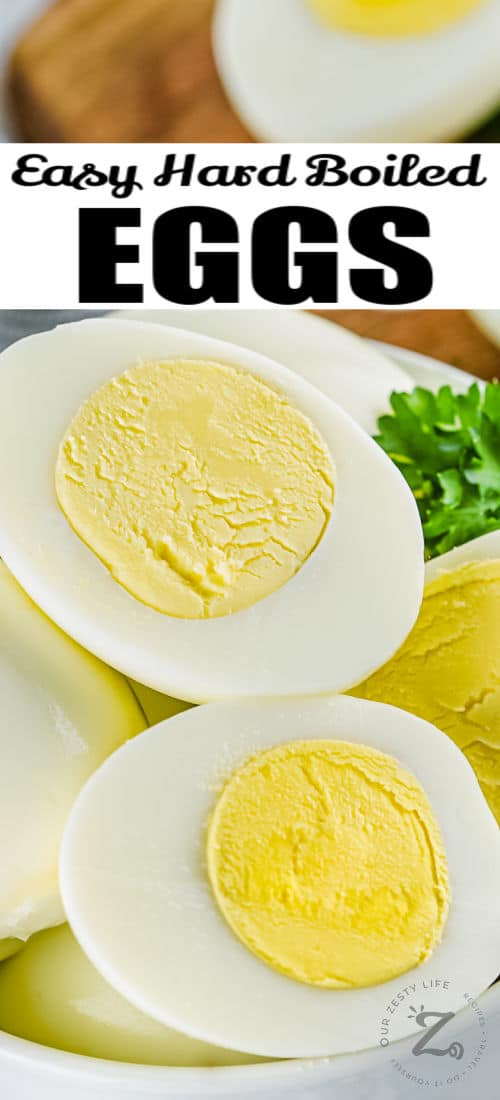
Making hard boiled eggs Instant Pot style is a quick and easy way to get perfect eggs every time.
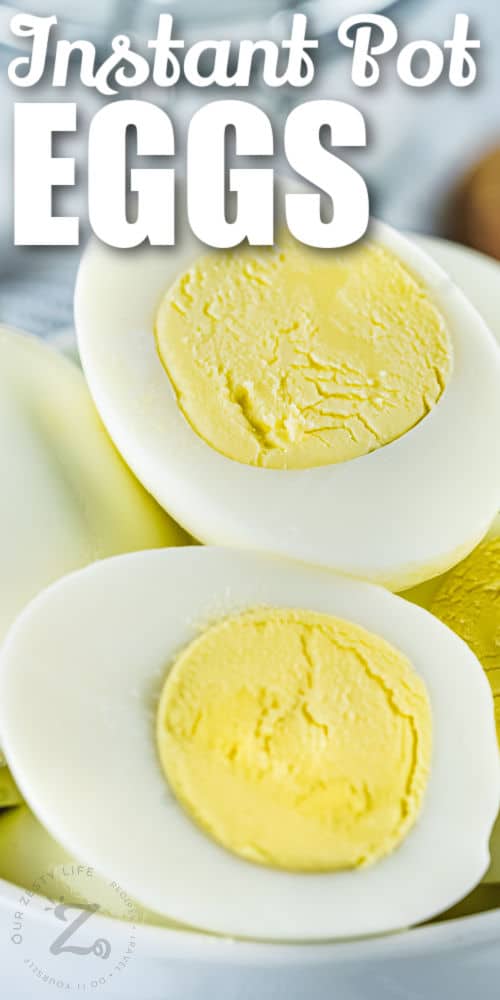
Instant Pot hard boiled eggs have tender egg whites with perfect yolks that are completely cooked and have a delicious, creamy texture. And they are made in just a few minutes…set it and forget it!
Make extra eggs and keep them refrigerated and handy for a quickie meal, snack or breakfast. This recipe will make enough for so many favorite egg recipes including salad toppers, deviled eggs, sandwich spreads, or creamy eggs Florentine!
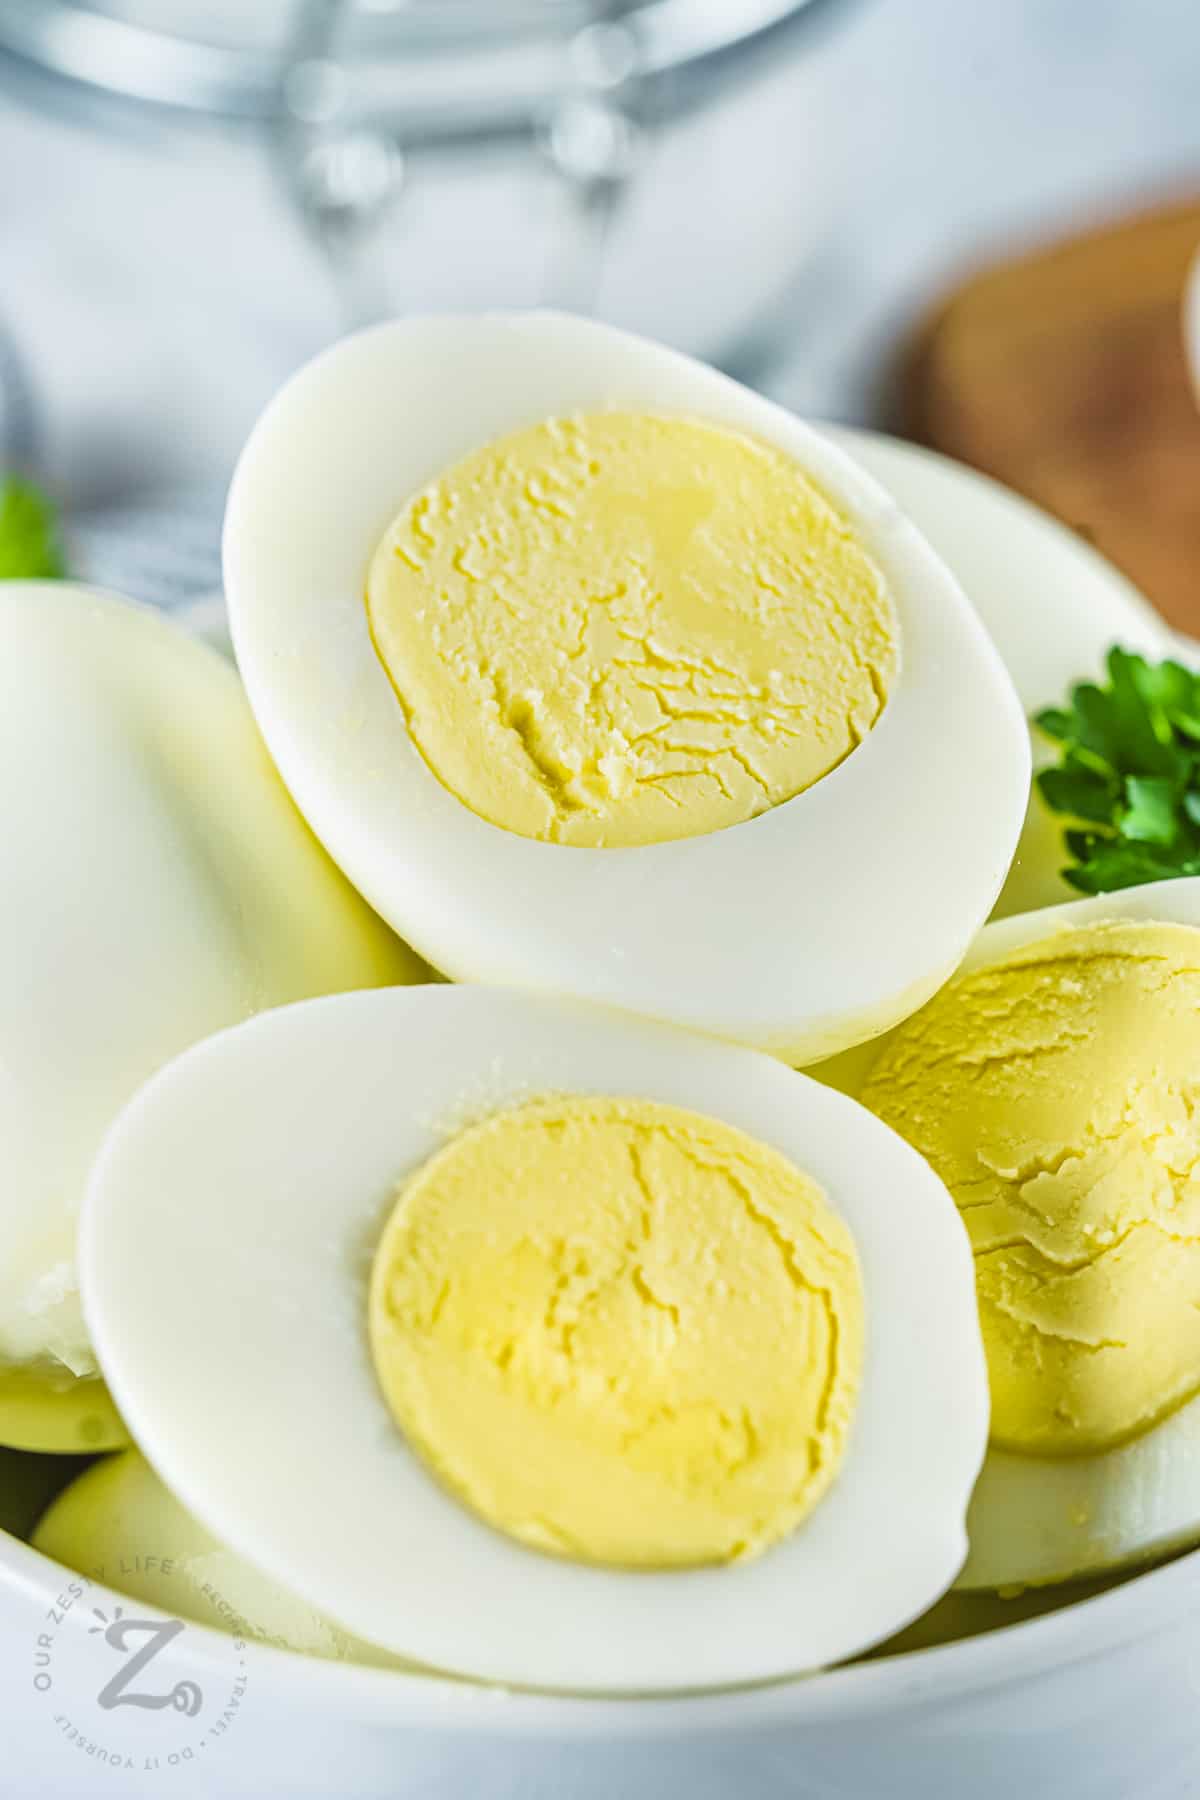
Best Way to Hard Boil Eggs
- Affordable and uber-healthy eggs are a high-protein superfood that are delicious and energizing. They are versatile as a grab-and-go breakfast, an energizing mid-morning or even post workout snack!
- Try making hard boiled eggs Instant pot style just once and find it is the best, and practically foolproof, way to make them!
- Pressure-cooked hard-boiled eggs are so easy to make and can be used in a variety of dishes, such as salads, sandwiches, and deviled eggs. Keep them on hand for appetizers such as deviled eggs, use them for a fresh egg salad, or slice them and top a kale Caesar salad for an extra protein boost.
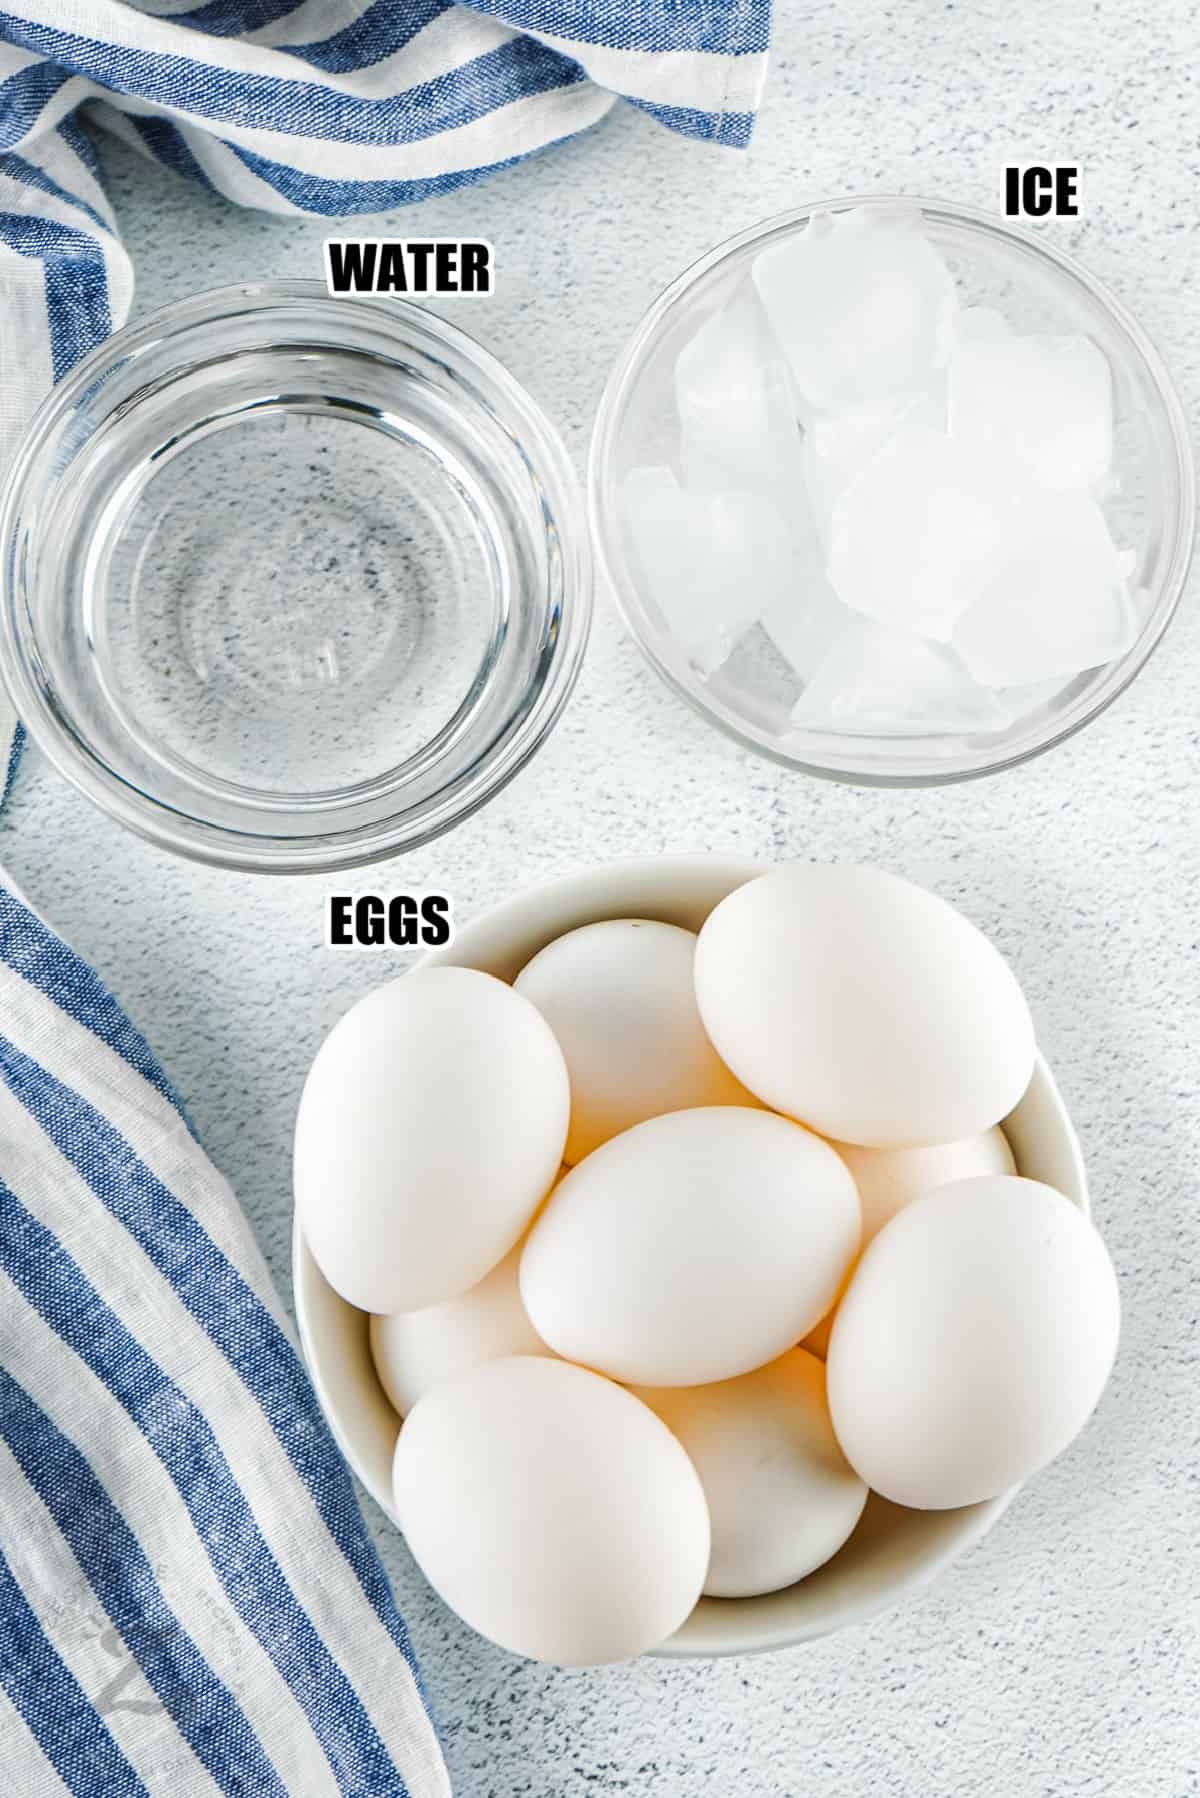
Easy Ingredients
Eggs: The best eggs to boil are the slightly older ones, not the freshest ones in the fridge. They’re much easier to peel once cooked, so save the fresh eggs for quiche or a brunch fave like a breakfast strata.
How to Hard Boil Eggs in an Instant Pot
Traditionally, hard-boiled eggs are made by boiling them in a pot of water on the stove, but the Instant pot gently steams them until they are absolutely perfect!
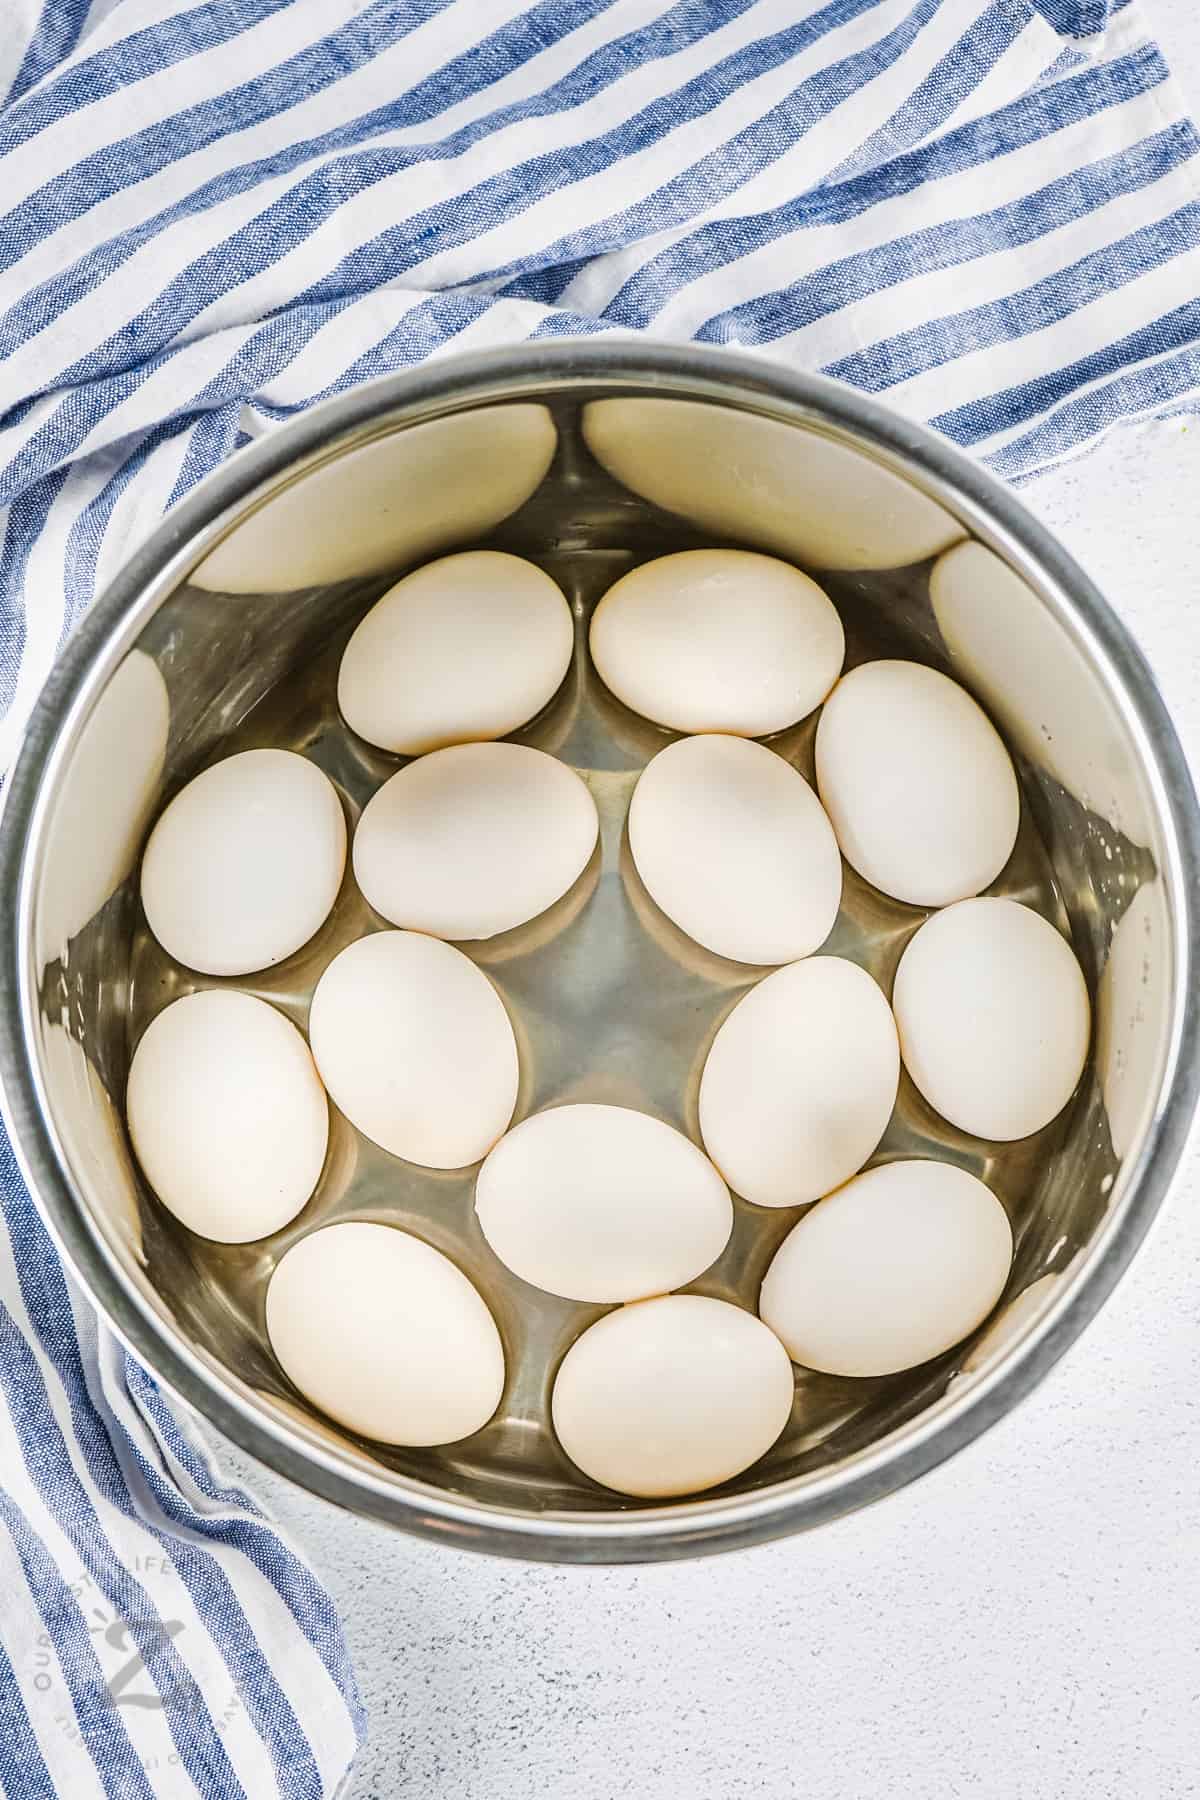
- Add water to the bottom of the Instant pot. Place 13 eggs (aka a “baker’s dozen”) in the bottom in a single layer (or an optional rack or trivet) (as directed in the recipe below).
- Seal and cook on manual pressure for 5 minutes and allow for a natural release of pressure, then a manual release.
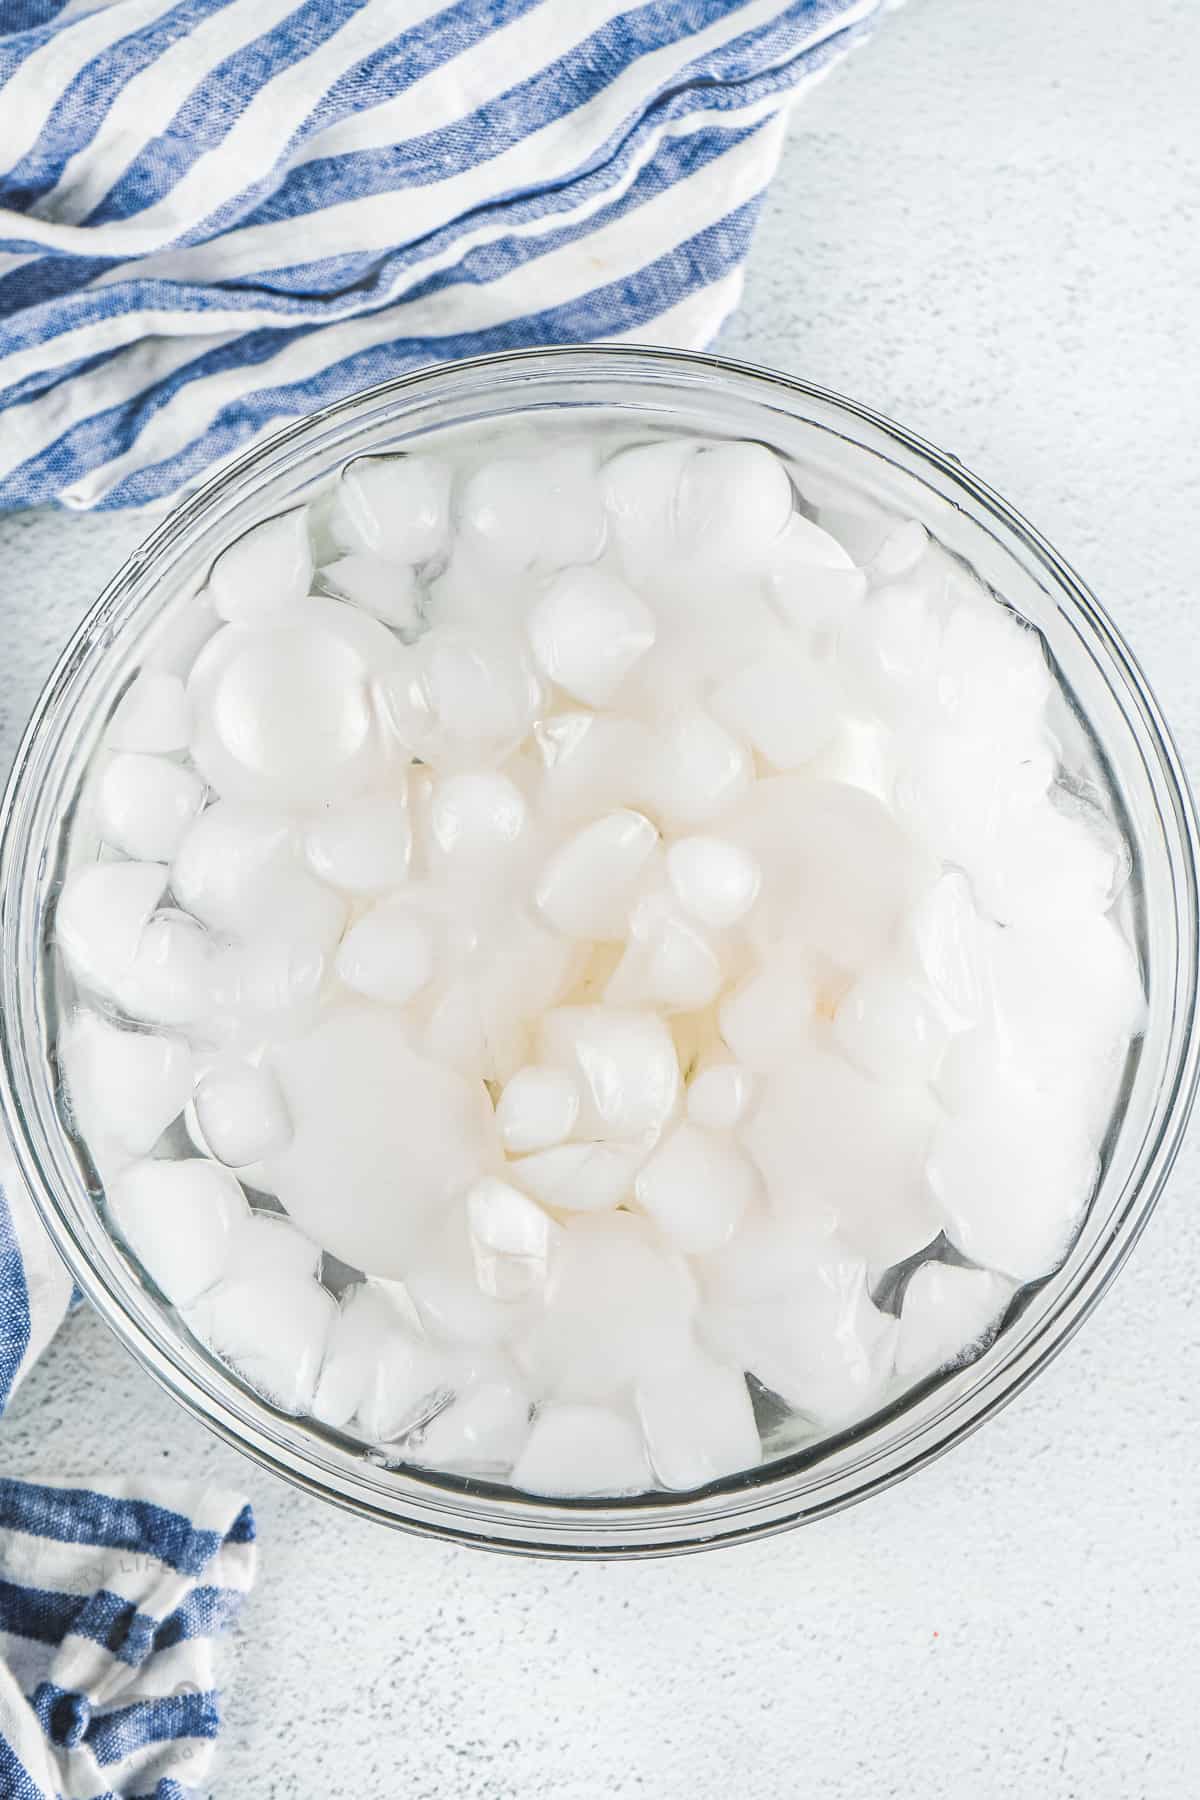
- Remove the eggs and plunge them into an ice bath to stop the cooking process.
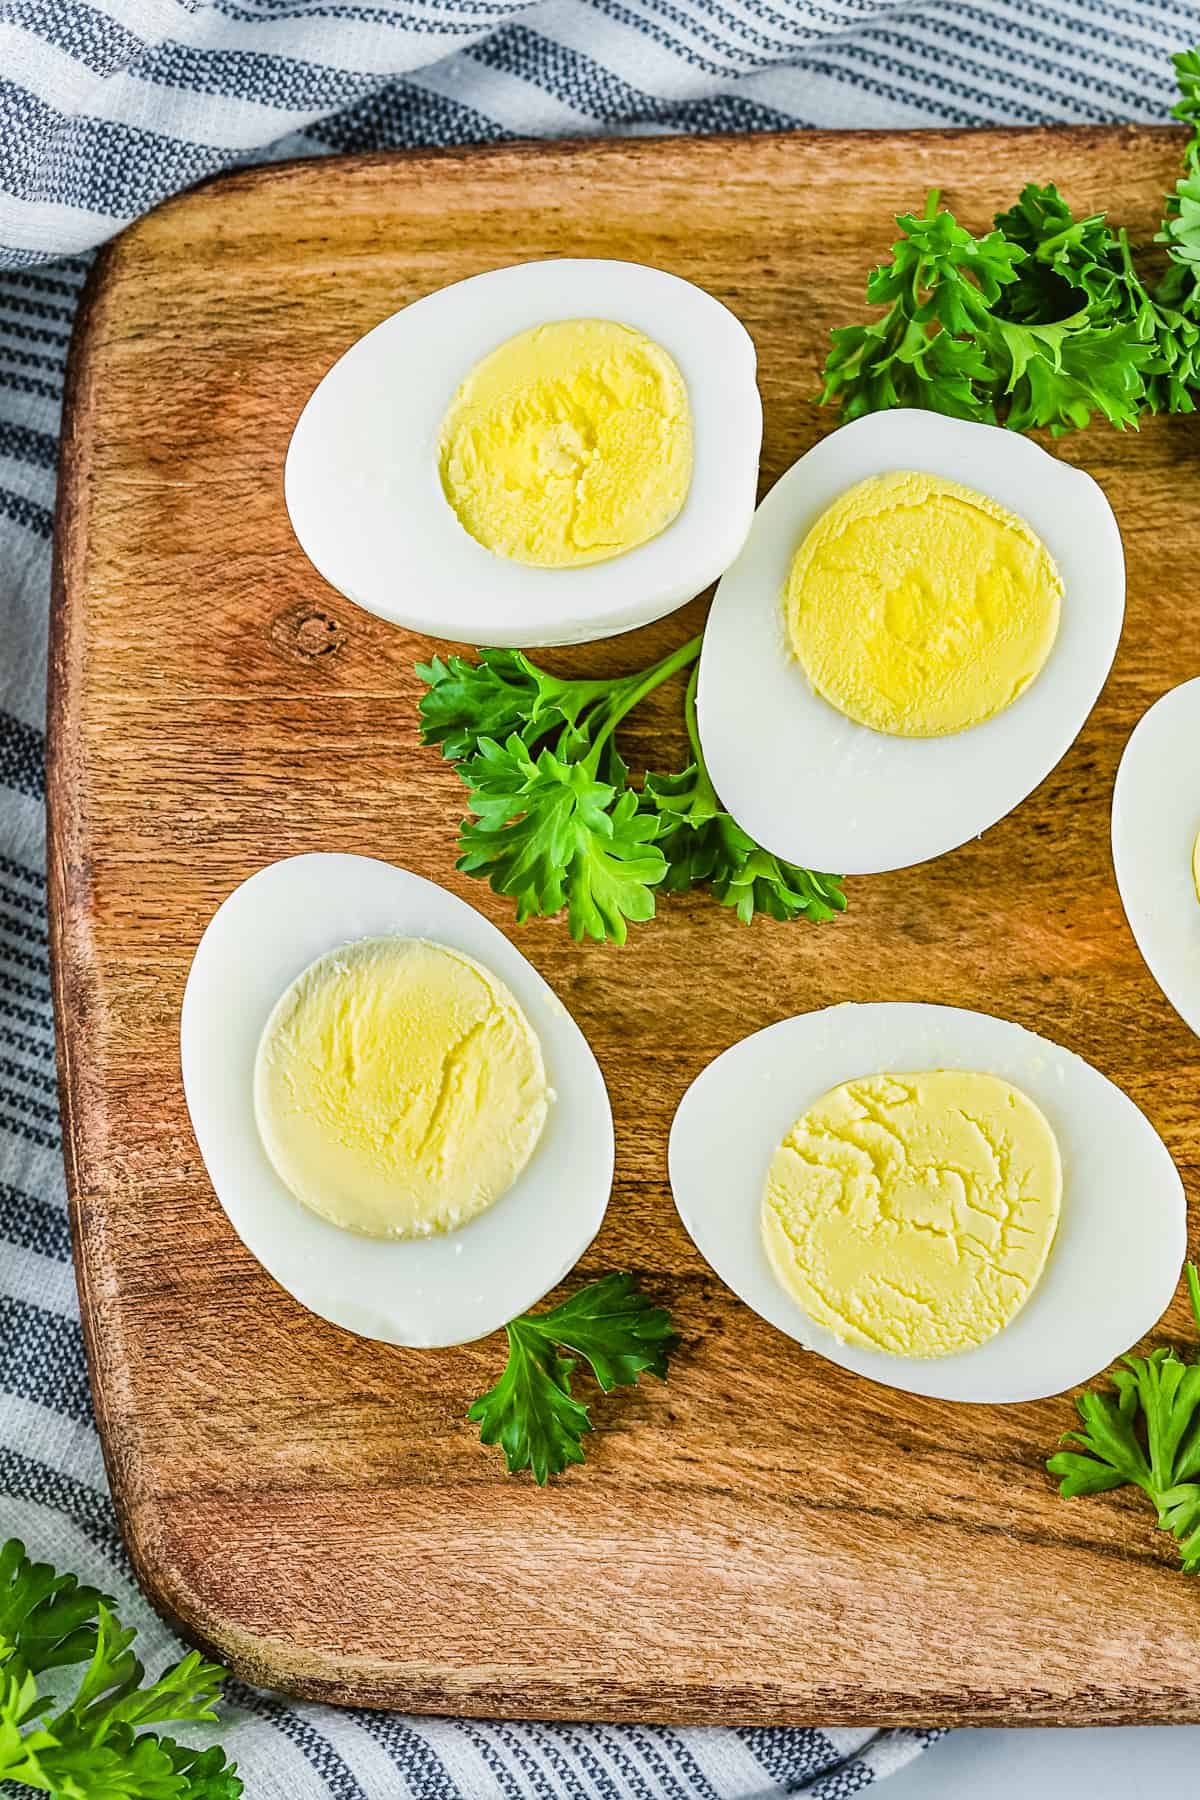
Soft and Medium Eggs
- If a soft-boiled egg is preferred, reduce the cooking time to 3 minutes and allow for a natural release of pressure for 5 minutes.
- Use the Instant Pot to make soft-boiled eggs with a jammy yolk by reducing the cooking time to 2 minutes and allowing for a natural release of pressure for 5 minutes.
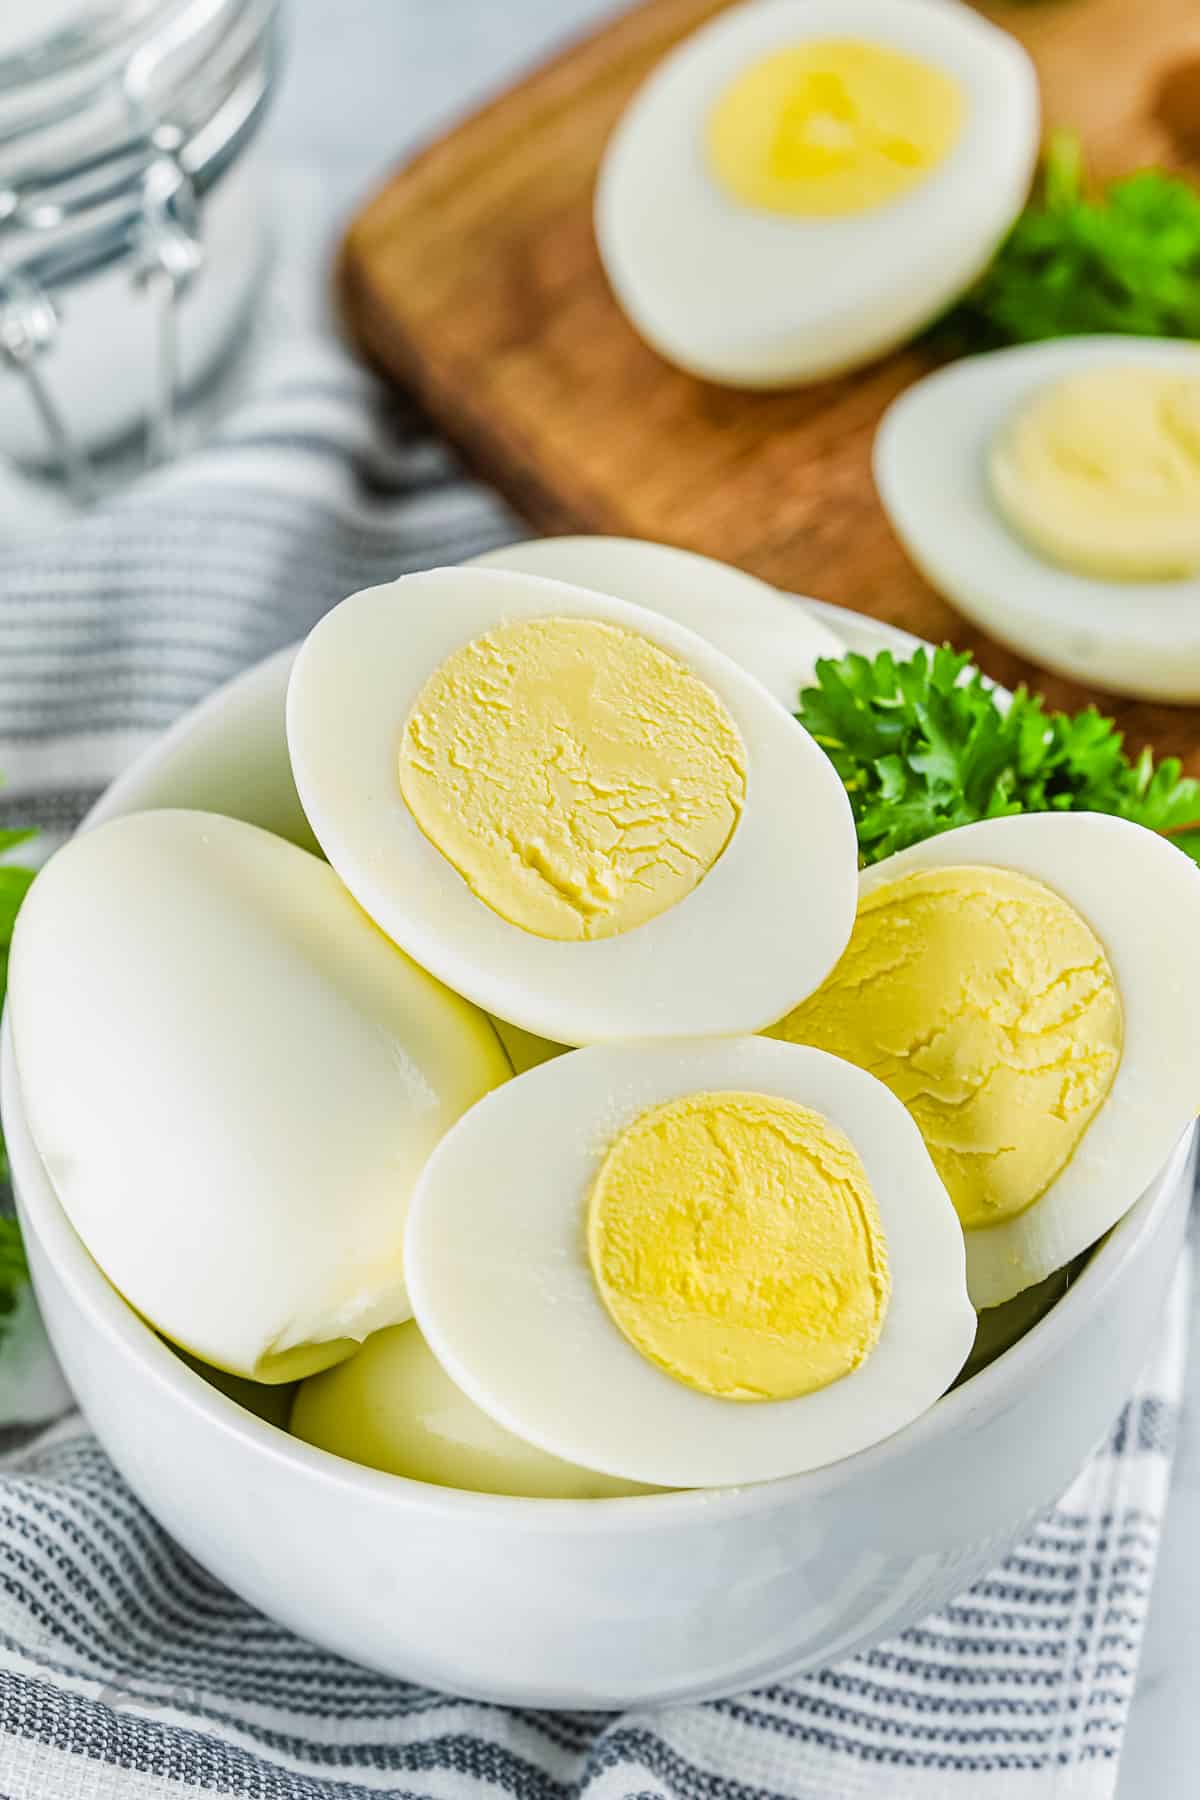
Perfect Eggs Every Time
- A 6-quart Instant Pot holds about 13 eggs, but adjust the amount to fit the size of the individual model.
- Be aware that the water won’t cover the eggs, it should come up only about halfway. Once cooked, carefully transfer the eggs into a large bowl of ice water to stop the cooking, and also makes them easier to peel.
- The actual cooking time is only 5 minutes, but the Instant Pot takes time to come to that pressure. So keep that in mind when planning to use this recipe.
- Keep hard-boiled eggs in the refrigerator for up to one week.
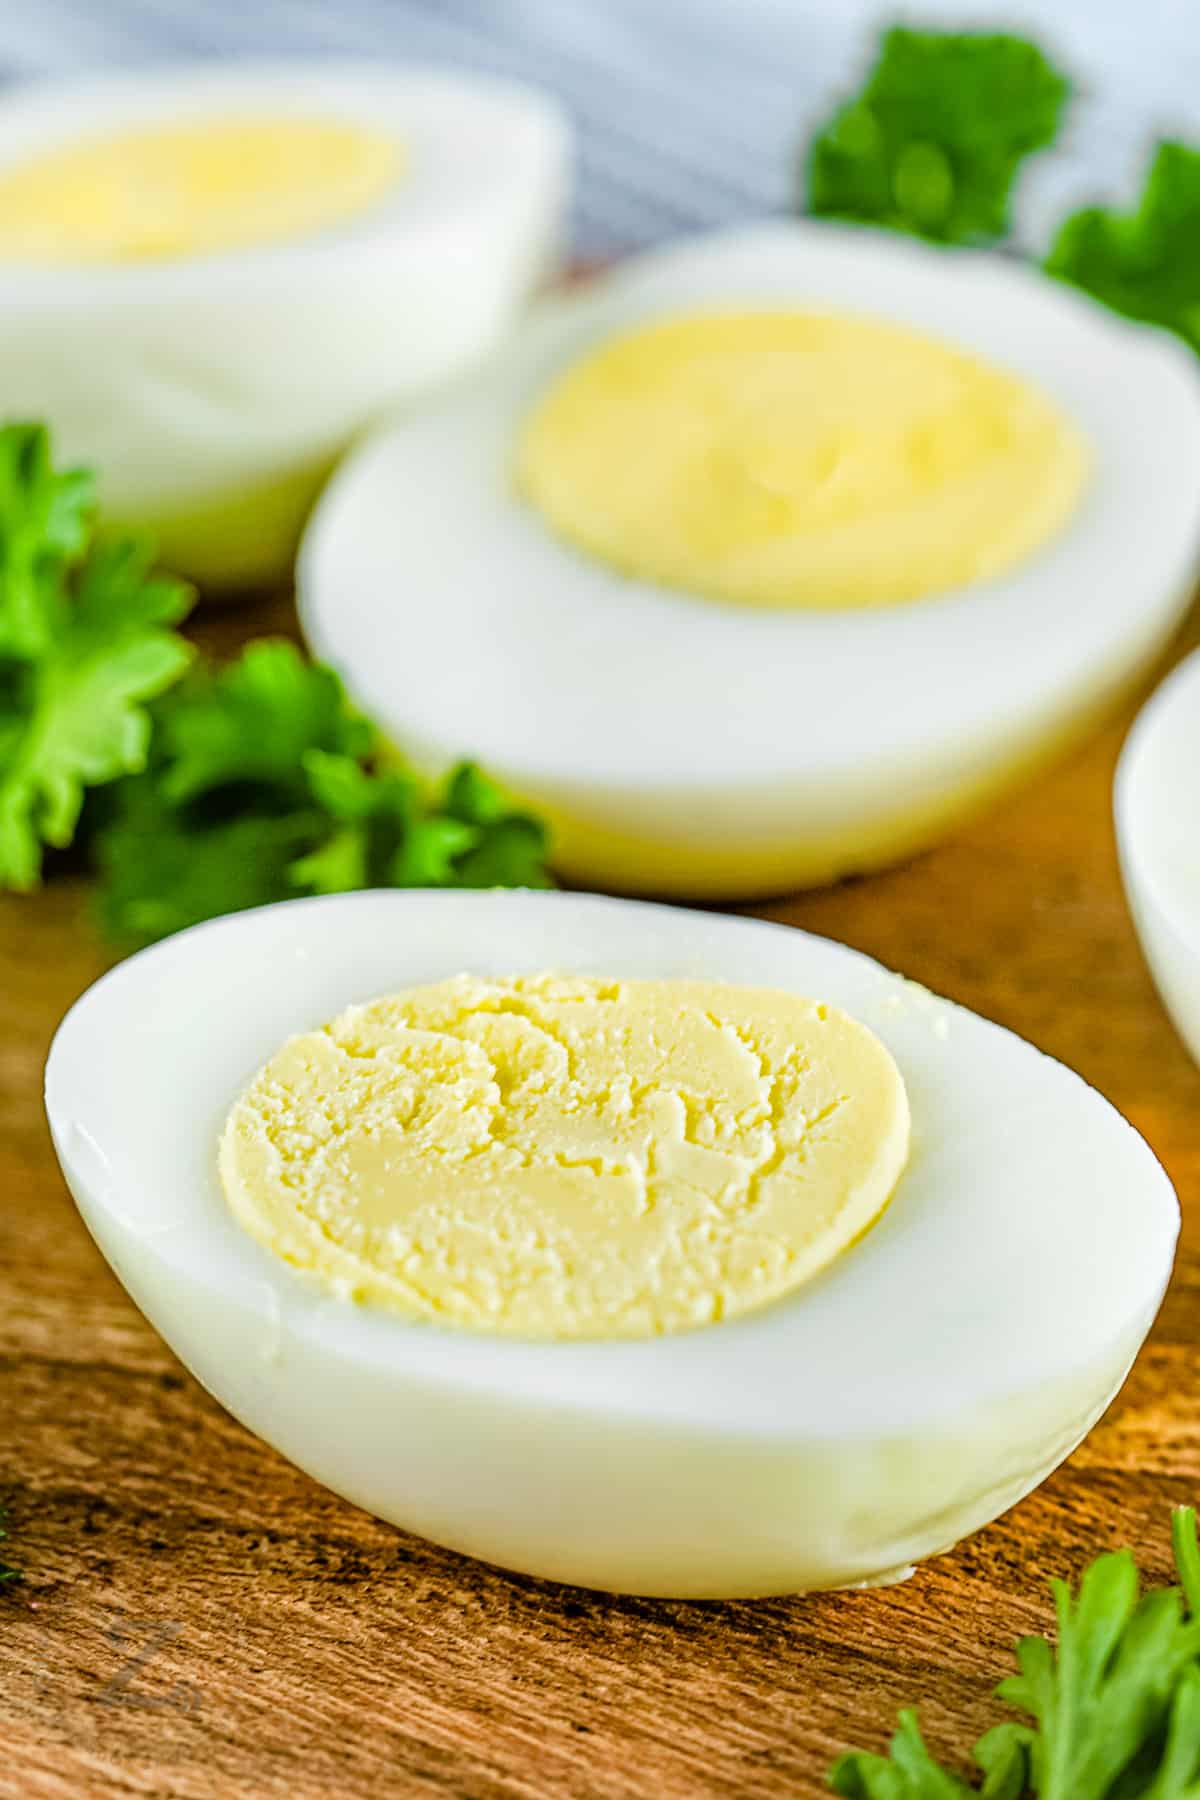
More Breakfast Ideas
Instant Pot Boiled Eggs
Equipment
Ingredients
- 1 cup water
- 13 eggs medium or large*
For cooling:
- 3-4 cups ice
- 6 cups water or more as needed
Instructions
- Add 1 cup water to the Instant Pot and place eggs in the bottom in a single layer. Do not stack eggs on top of each other.
- Seal the lid and select manual pressure. Set the timer for 5 minutes. Allow Instant Pot to natural release for 5 minutes, then manually release.
- Meanwhile, fill a large bowl with ice and water to cool eggs.
- After manually releasing the Instant Pot, immediately place the eggs into the bowl of ice water (add ice and water to cover). Allow to cool for 10 minutes before peeling.
Notes
- *A 6-quart Instant Pot holds about 13 eggs. For a smaller or larger Instant Pot, adjust the number of eggs to have a single layer.
- Refrigerate hard boiled eggs for up to one week.
Nutrition Information
Nutrition information does not include optional ingredients or garnish and is an estimate. It may change based on actual ingredients and cooking methods used.
©Our Zesty Life. Content and photographs are copyright protected. Sharing of this recipe is both encouraged and appreciated. Copying and/or pasting full recipes to any social media is strictly prohibited.
Like our recipes?
Follow us on Pinterest!

REPIN this recipe for Instant Pot Boiled Eggs!
