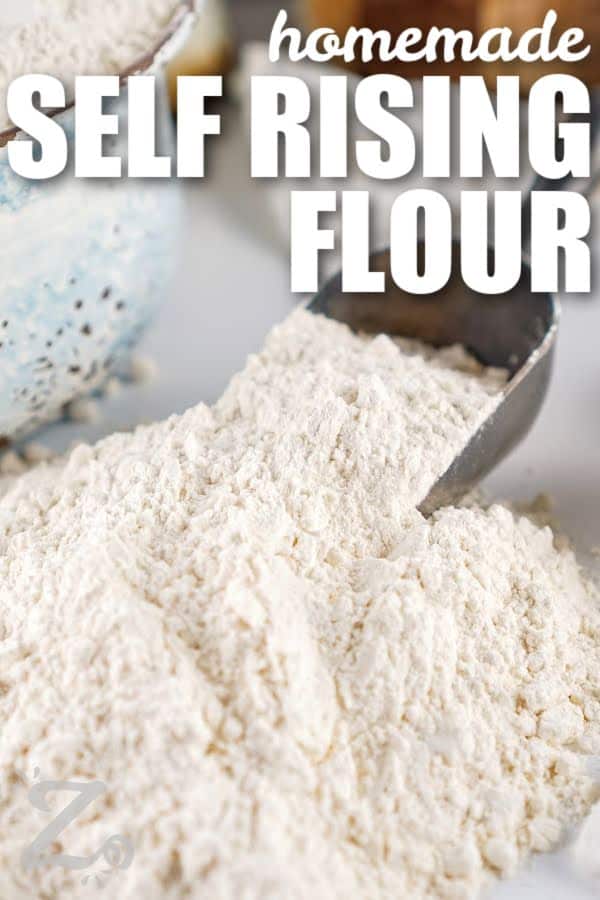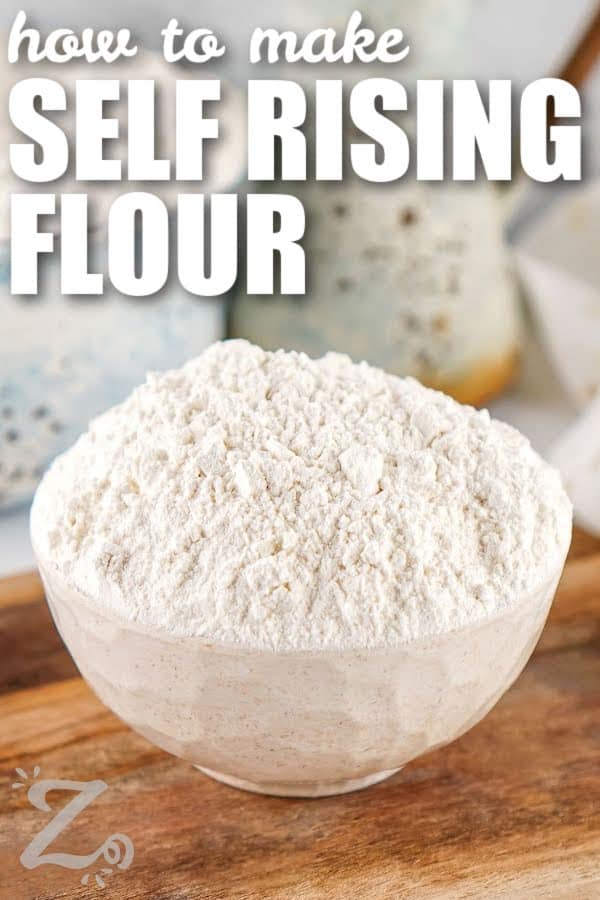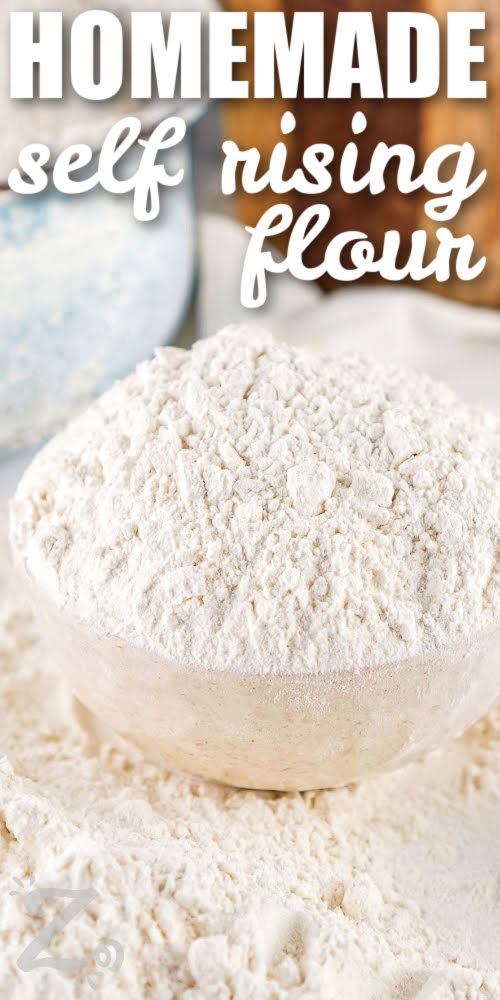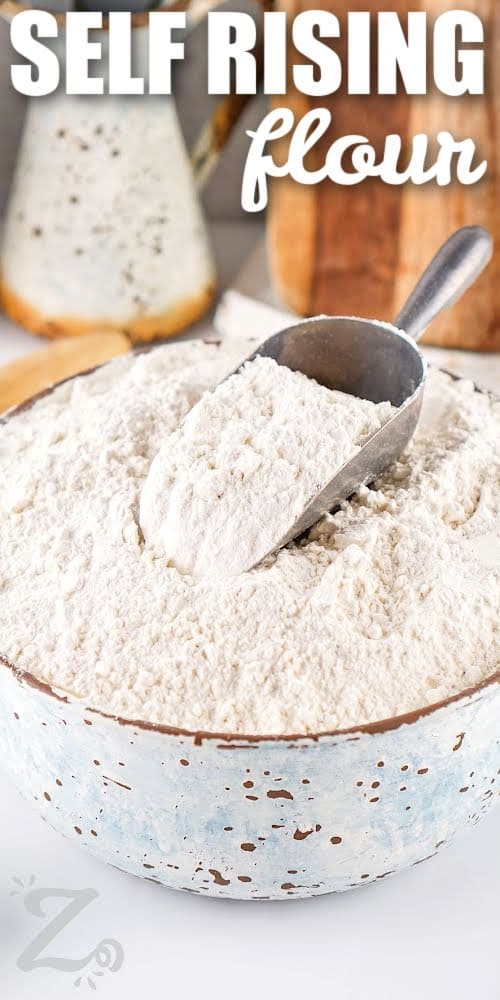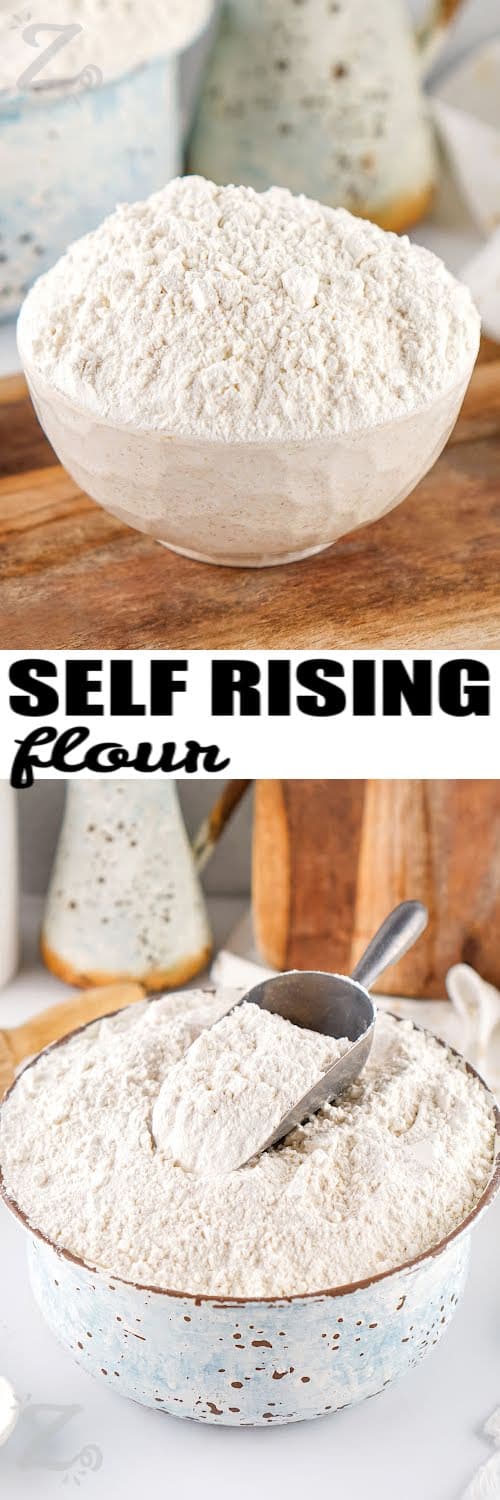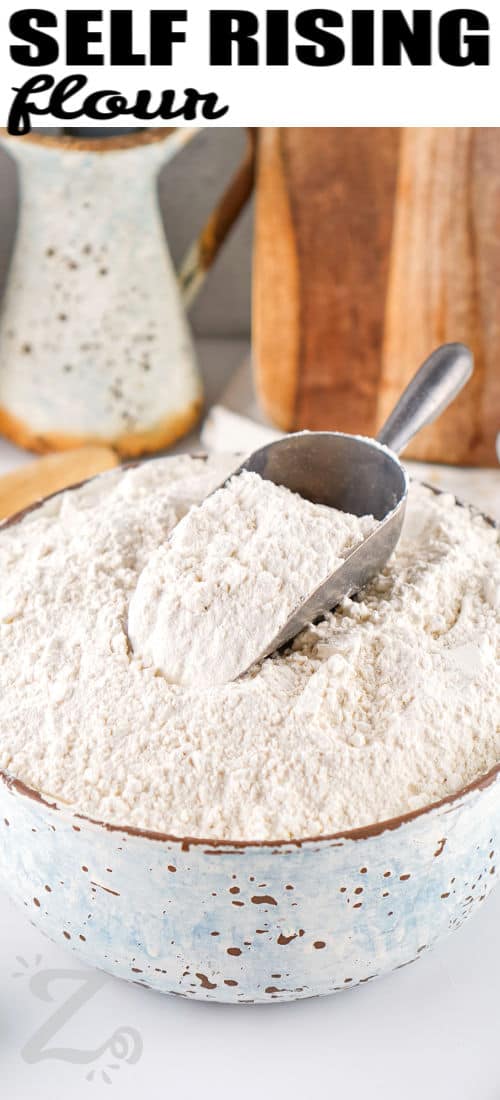
Skip the trip to the store and make Homemade Self Rising Flour right at home! It’s a simple 3-ingredient staple you can mix up in one bowl in just 3 minutes.
Use this DIY self rising flour to whip up fluffy homemade biscuits or quick homemade hotcakes whenever a craving strikes.
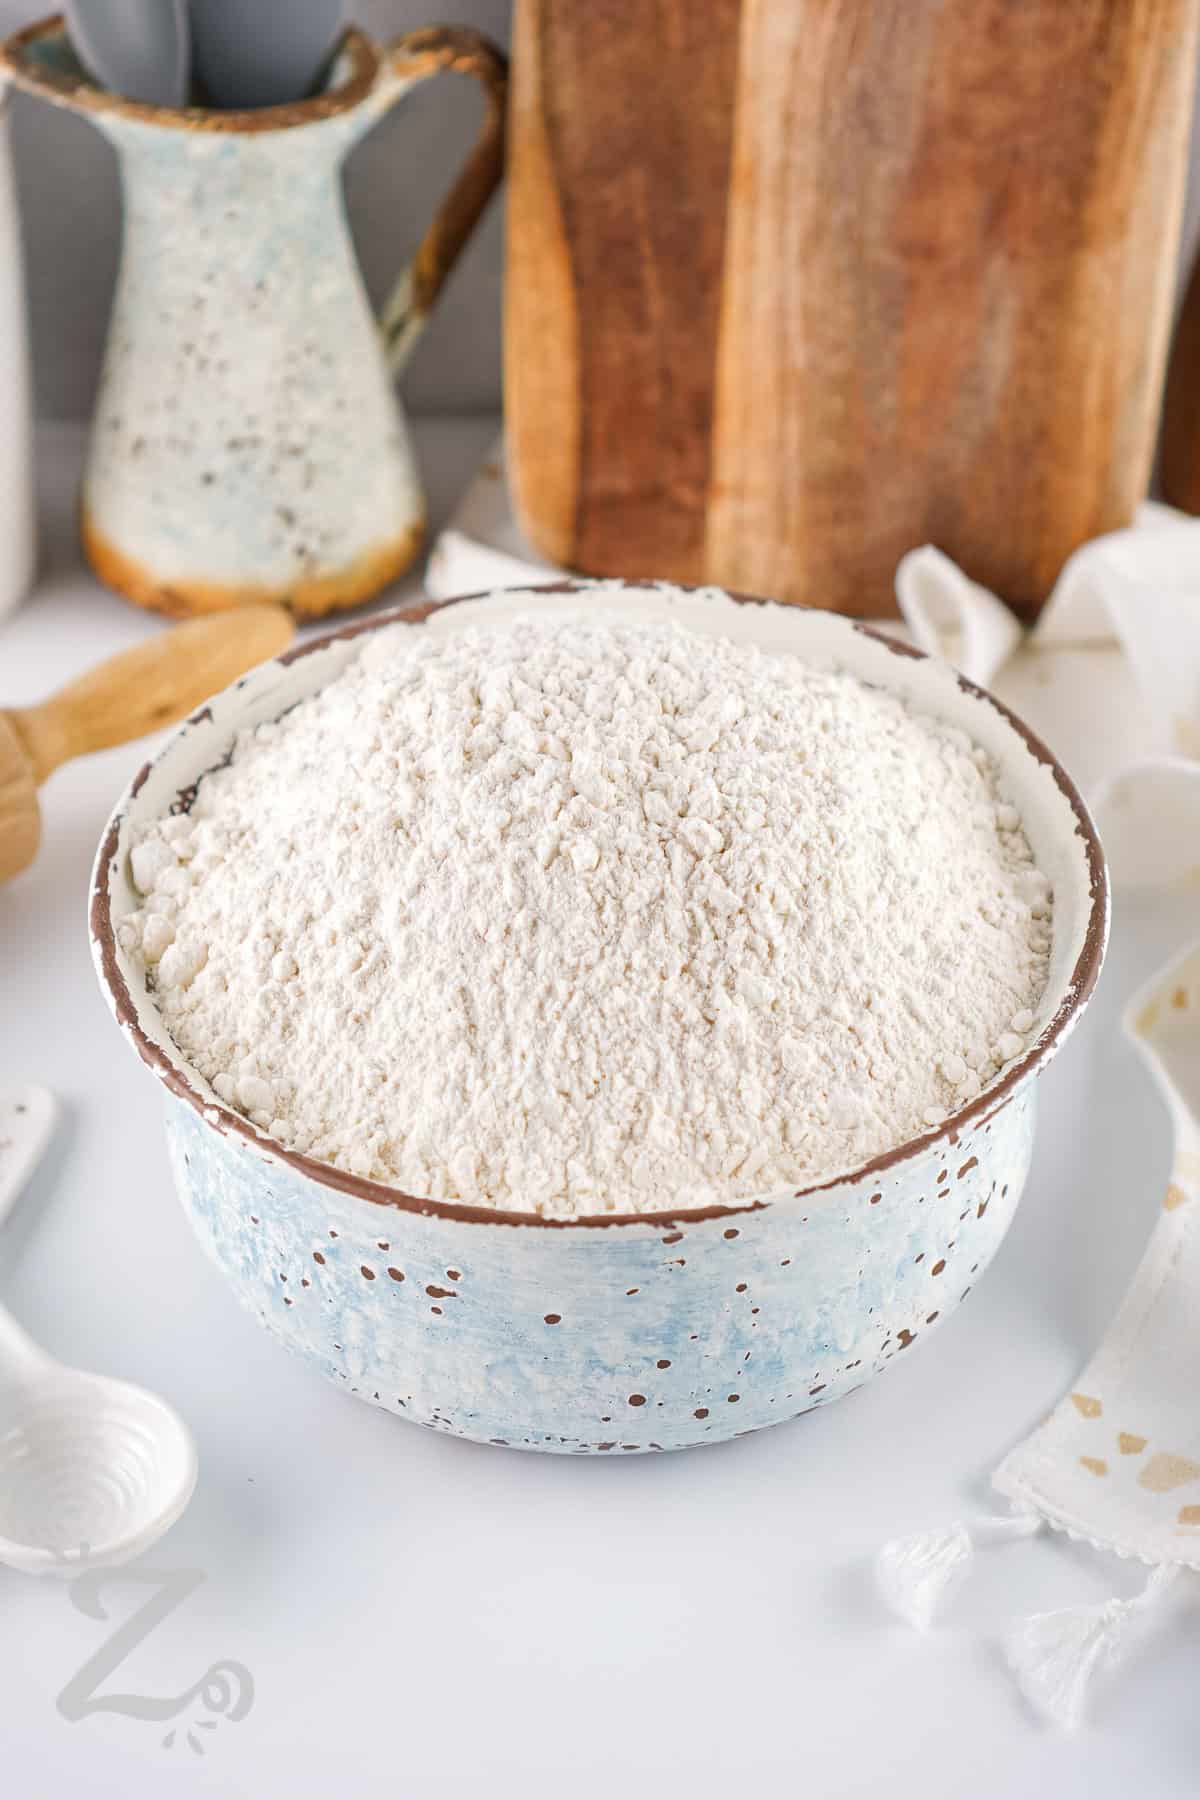
Recipe Highlights: Homemade Self Rising Flour
- Why Make It: Combines flour, baking powder, and salt in one easy mix.
- Skill Level: This homemade self rising flour recipe is beginner-friendly, requiring only simple measuring and whisking to combine the ingredients in minutes.
- Budget: It’s an affordable, homemade staple that uses everyday pantry ingredients and costs less than buying it at the store.
- How to Use: Use this flour just like the store-bought version in your favorite recipes. Simply measure the amount needed and add it directly to your dry ingredients.
Total Time: 3 Mins Servings: 4 Cooking Method: None
Ingredient Notes
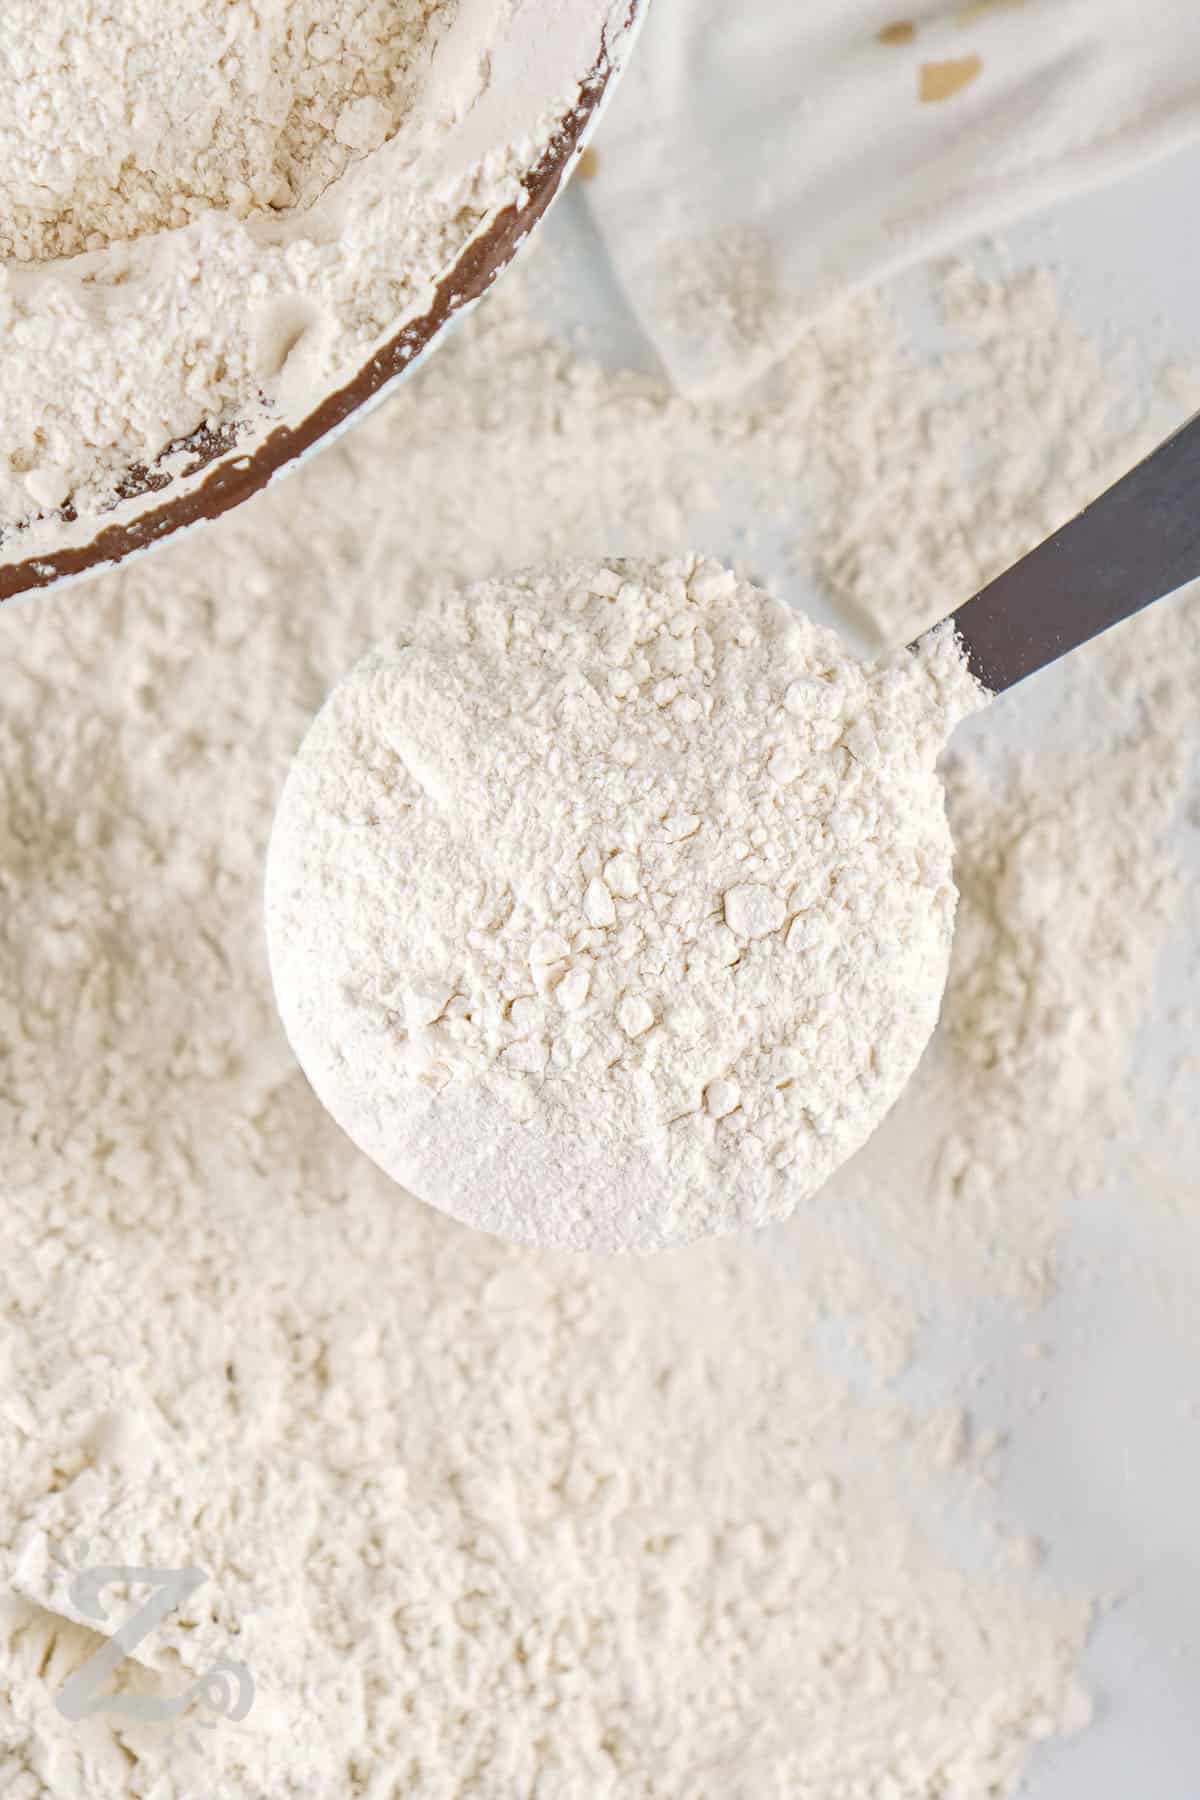
- All-Purpose Flour: Use plain all-purpose flour without any leavening agents already added. Homemade self-rising flour may produce slightly less tender baked goods than store-bought versions made with softer wheat.
- Baking Powder: Use fresh baking powder for the best rise and reliable results. Baking soda is not a direct substitute, as it requires an acidic ingredient to work properly.
- Salt: Fine table salt blends evenly throughout the flour. Use the lower amount listed in the recipe for a balanced flavor, or choose the higher amount if you prefer a saltier taste.
Variations
- Use the ingredient ratio below to make a small batch, just enough for your recipe, instead of preparing a full pantry batch.
- Pastry flour may provide a texture closer to some Southern-style self-rising flours, and gluten-free flour blends behave differently, so be sure to test.
- Whole wheat or bread flour are not direct substitutes for all-purpose flour because their protein and fiber content can affect texture and liquid absorption.
Small Batch Reference
| All Purpose Flour | Baking Powder | Salt |
| 1 Cup | 1½ Tablespoon | ¼ Teaspoon |
| 2 Cups | 1 Tablespoon | ½ Teaspoon |
| 4 Cups | 2 Tablespoon | 1 Teaspoon |
How to Make Homemade Self Rising Flour
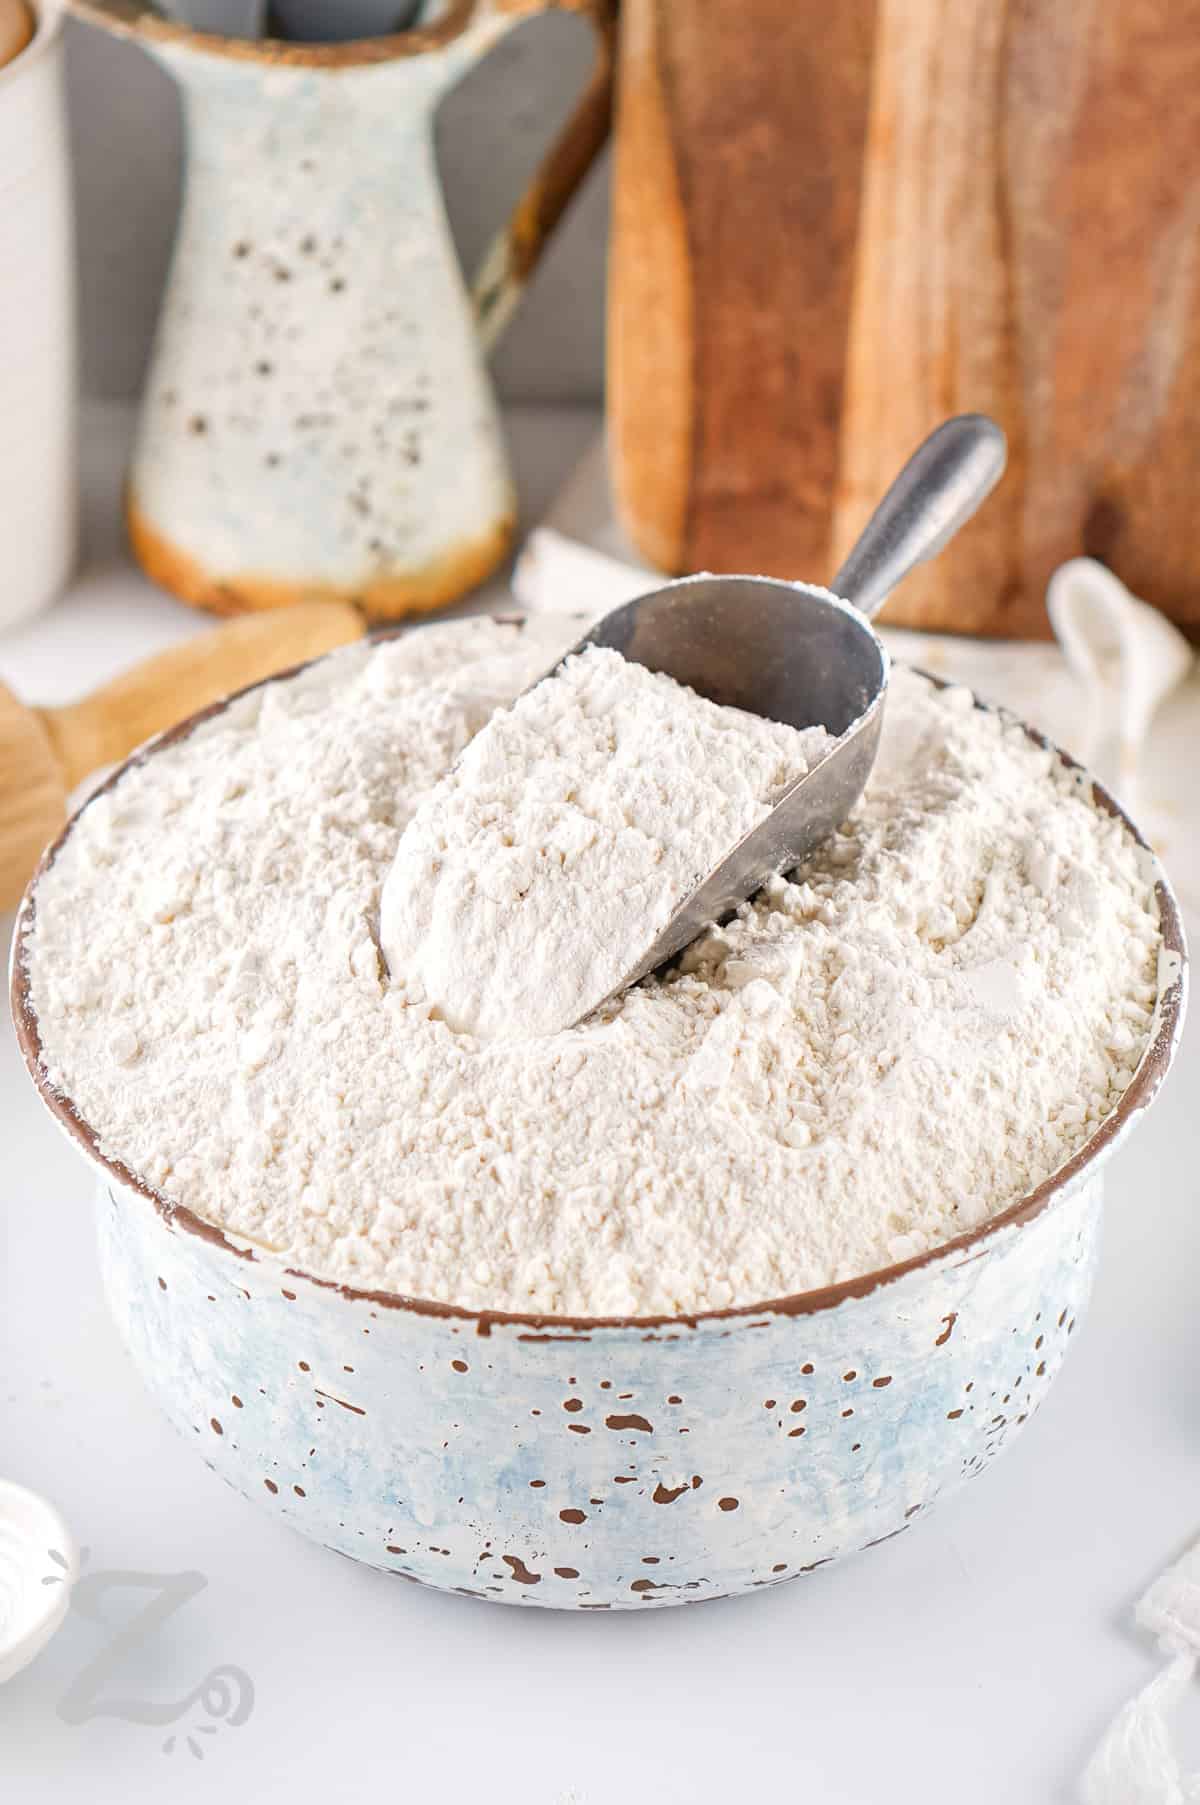
- Measure the dry ingredients into a bowl.
- Whisk thoroughly (full recipe below).
- Use in a self rising flour recipe or seal and label for storage.
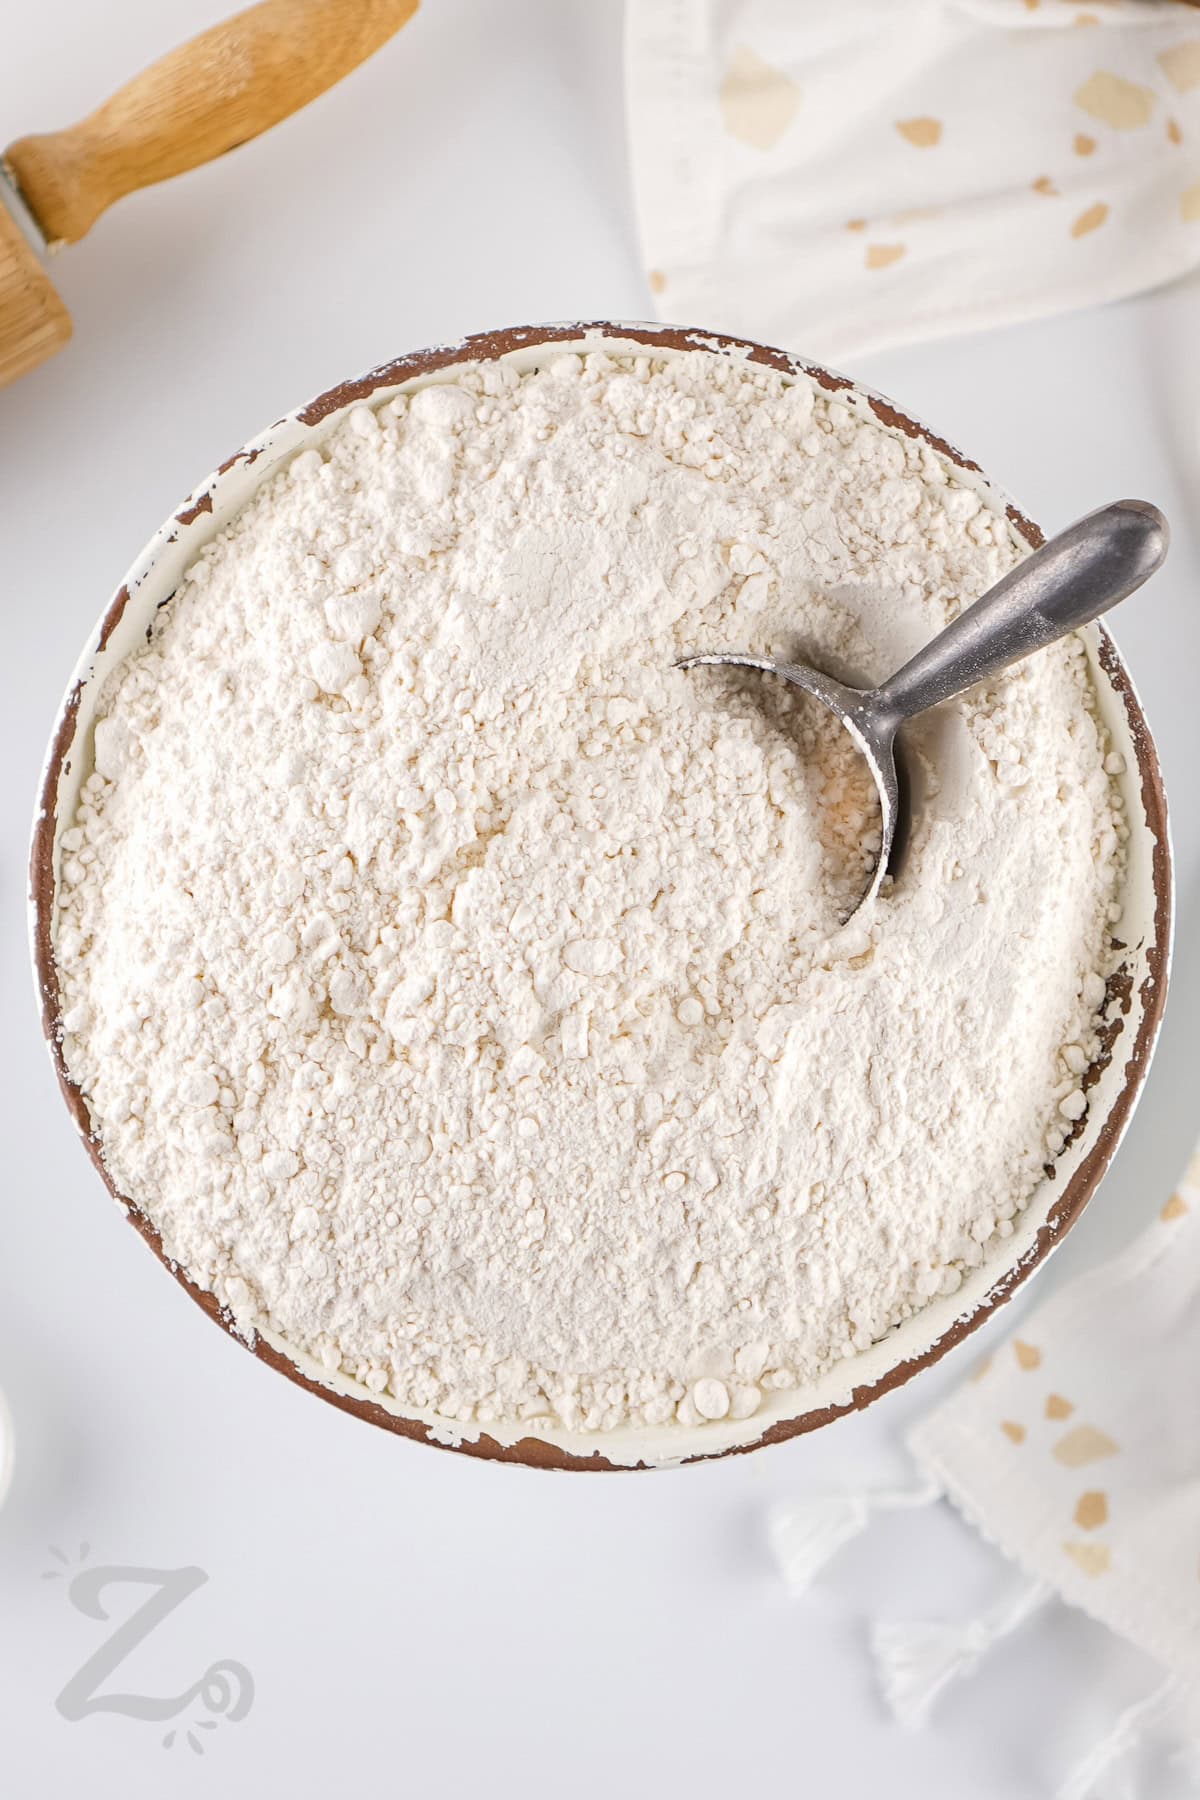
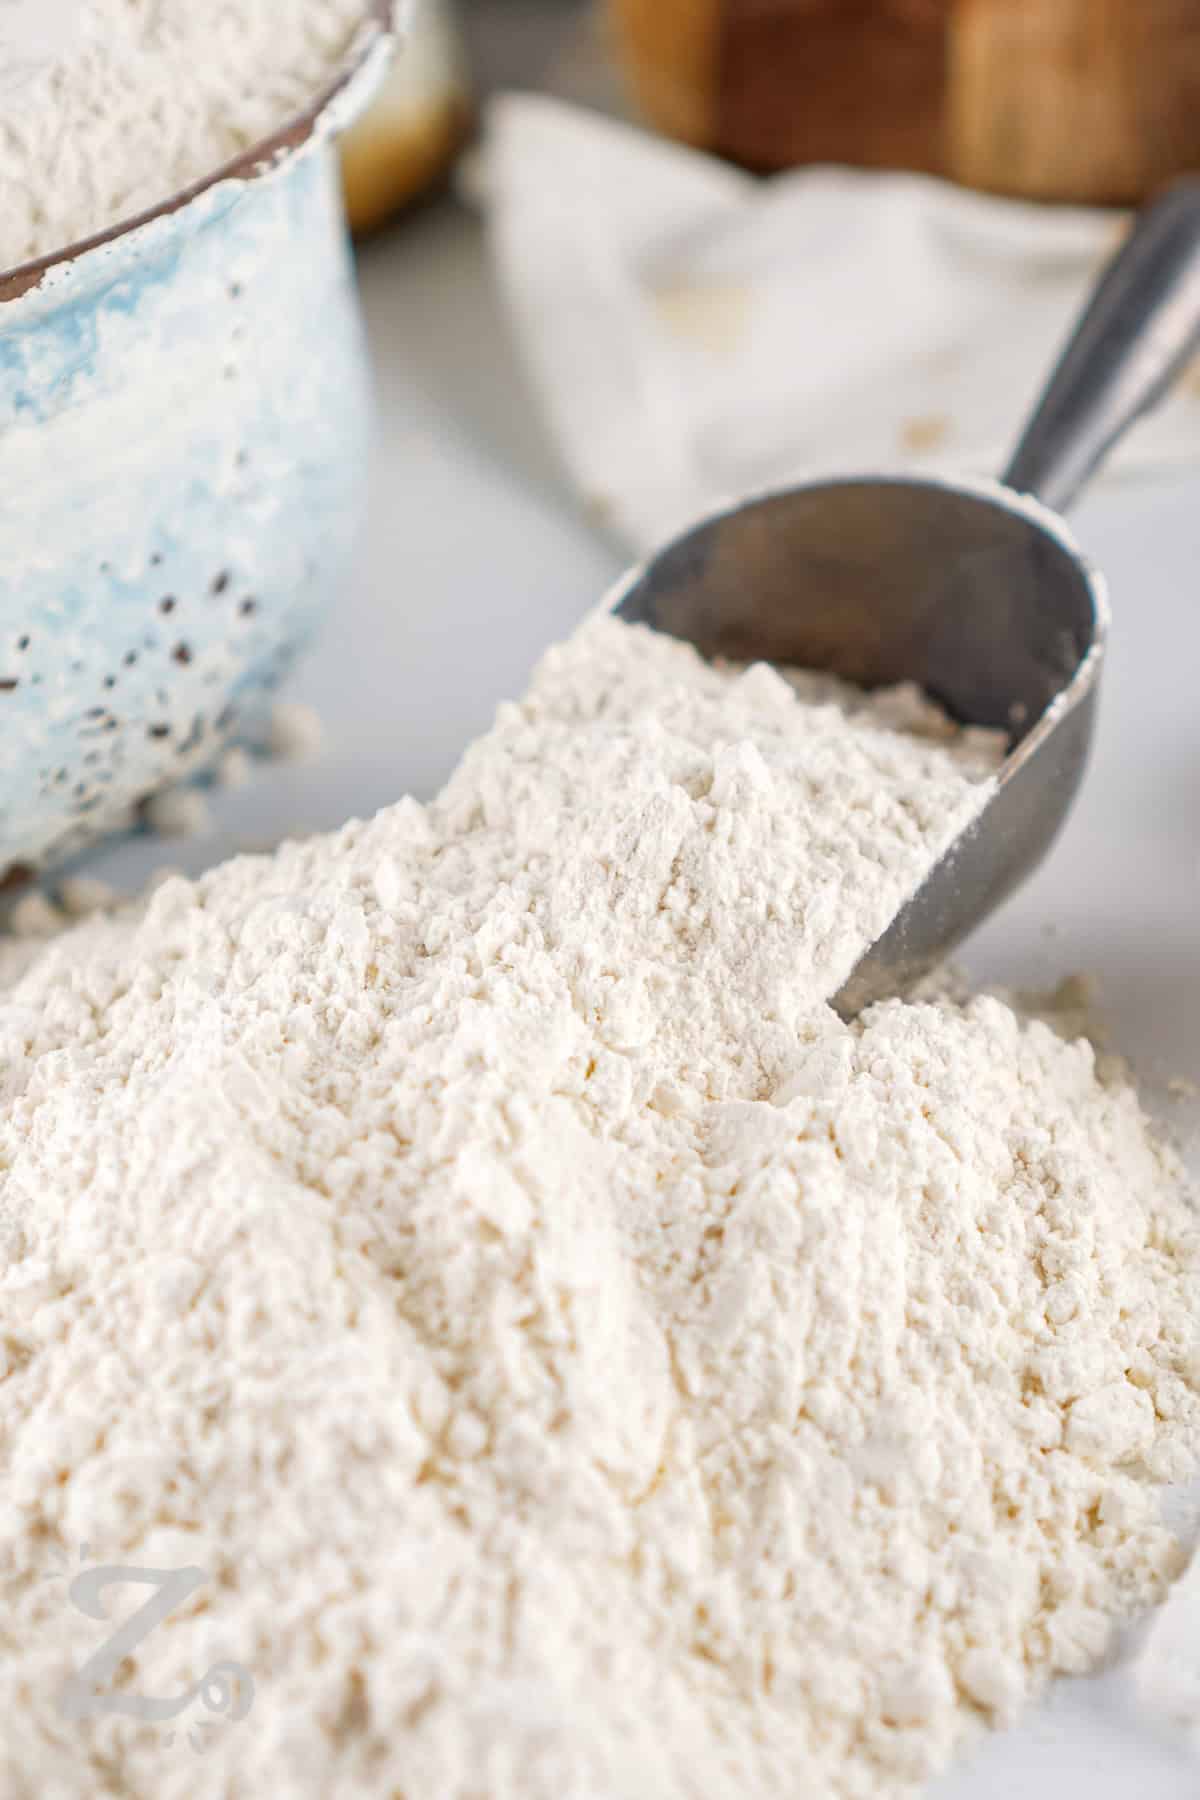
Pantry Storage for Later Baking
- Pantry: Store in an airtight container in a cool, dry area for up to 3 months. Do not freeze or refrigerate. Added moisture will make it less effective.
- Label: Include the name, mixing date, and salt amount so the mix is not mistaken for plain flour.
More Homemade Pantry Helpers


Did you enjoy this Homemade Self Rising Flour? Leave a comment and rating below.
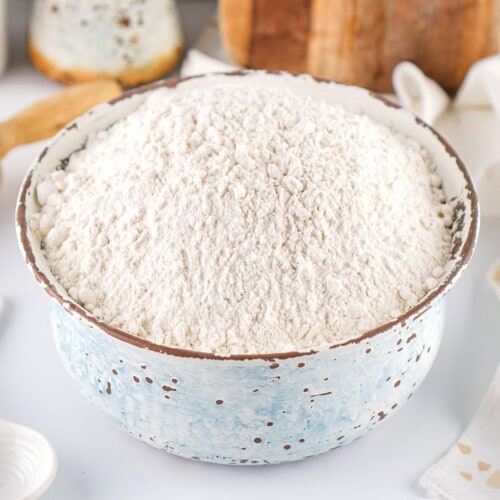
Homemade Self Rising Flour
Equipment
Ingredients
- 4 cups all purpose flour
- 2 tablespoons baking powder
- 1 teaspoon salt*
Instructions
- In a medium bowl, add flour, baking powder, and salt. Whisk well to combine.
- Use immediately, or store in an airtight container for up to 3 months in a cool, dry area.
Notes
Nutrition Information
Nutrition information does not include optional ingredients or garnish and is an estimate. It may change based on actual ingredients and cooking methods used.
©Our Zesty Life. Content and photographs are copyright protected. Sharing of this recipe is both encouraged and appreciated. Copying and/or pasting full recipes to any social media is strictly prohibited.
Like our recipes?
Follow us on Pinterest!

REPIN this Homemade Self Rising Flour recipe